|
<< Click to Display Table of Contents >> Purchase Order |
  
|
|
<< Click to Display Table of Contents >> Purchase Order |
|
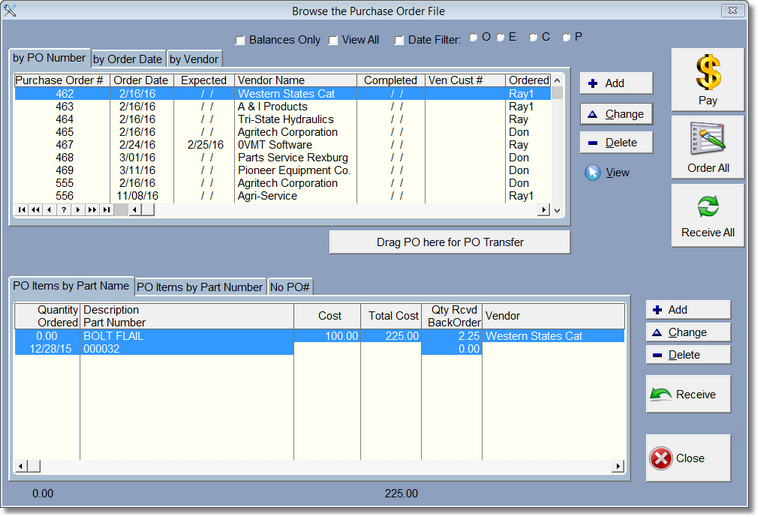
The Purchase Order (or PO) system works with both your inventory, and parts in the repair order. It also works in conjunction with the old order system, so if you're using the old system, you can still use the PO.
To get to the main PO Screen, click on the ![]() or go to the Inventor/Labor menu then Order and Receive Parts sub-menu and click on Purchase Order.
or go to the Inventor/Labor menu then Order and Receive Parts sub-menu and click on Purchase Order.
You might want to watch the video on you tube first:
Purchase Order Video
Purchase Orders are added by clicking on the Add button to the right of the PO list. The list below are the items in the above highlighted PO. To add items to the PO, highlight the correct PO record, then click on the Add button to the right of the Item List.
When you first add an item to the PO, notice that the column Item/Ordered is red. Red indicates what needs to be done next. Click on Order all and each item will fill in the Order date, thus turning the Item/Ordered column to normal, and the Qty Received column will now be red.
That indicates your next step is to receive the item(s). Click on Receive All, or receive one item at a time. If the quantity received is less than the quantity ordered, the BackOrder items will show how many items are yet to be received.
Fast Ordering
First click here to understand Drag and Drop.
Now let's say I have a bunch of Order items under the 'NO PO#' list at the bottom of the screen. (The only way to add these items is from the RO Screen where you would Drag and Drop an RO Part to the PO List when PO# 0 is selected. More about this in the RO Screen Help.)
So, these aren't assigned to a PO# and they should be so you can place the order to the vendor and get a printout. If there is not a PO already created for this Vendor, it is very simple to create one and add the order item to the new PO. Grab the line item, drag it to the Add button to the right of the PO List and let go.
Ta Da! Your PO has been created. Also, the Transfer Button is now set for that PO#, so you can immediately grab any other order items and drop them onto the Transfer Button. Or when you first create that PO using this method, it will ask you if you want to add the rest of the PO Items for that vendor to this PO#.
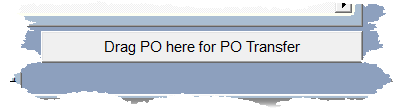
The transfer button looks like this:
After you've dragged a PO# onto the button, it looks like this:
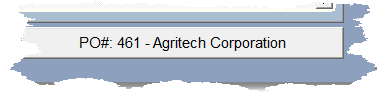
Once you've dragged a PO# to the button, you can click on another PO, and drop the order items onto the Transfer Button and the order item will transfer to the PO# on the Transfer Button.
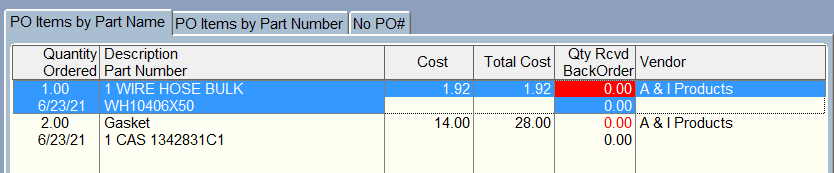
The line items will look something like below. Notice the red quantity under the order column. That indicates that you need to order these items.

When you are actually ordering from the vendor, you need to change the status of this items to ordered. The simplest way is to highlight the Purchase Order, then click on the Order All button.

When you do this Digital Wrench will cycle through all of the items for that PO#, and place them on order by filling in the expected date for each item (which it will ask you for). Notice how the column under Quantity that was red is now normal, and the Qty Rcvd is now red. This indicates these items need to be received.
When you get your items from the vendor, then it is time to receive them. By using the Receive All button, the program will not only cycle through each item in that PO, but if you've received everything, it will mark the PO as done by filling in the Date Completed. It will also transfer the Ordered quantity to the received quantity and fill out the date received for each item.
If you did not receive all of the items, the PO will not complete and the items not received will be marked as backordered. Then when you get those items, you can Receive All again.
Click Here to see the Verify Order Screen.
